Hero Slider Images
Image
Title
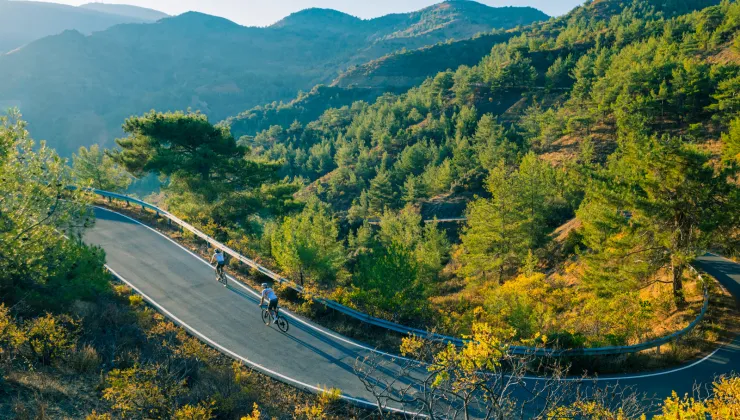
New Destinations for 2027
CTA Title
Read More
CTA Link
https://www.backroads.com/blog/backroads-new-destinations-2027
Image

Title
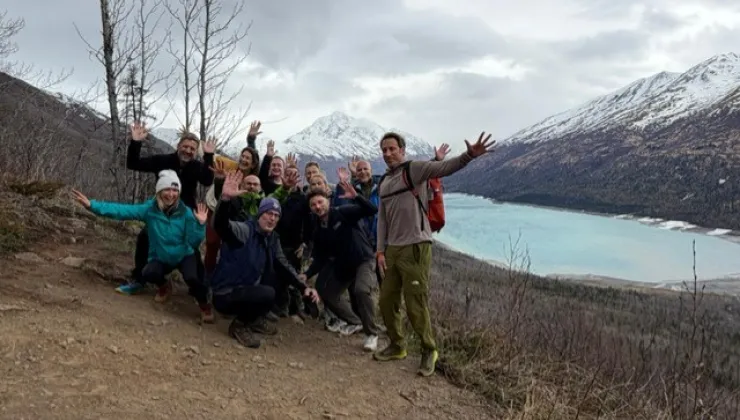
Trips for Solo Travelers
CTA Title
Read More
CTA Link
/blog/destinations/trips-solo-travelers
Image

Title
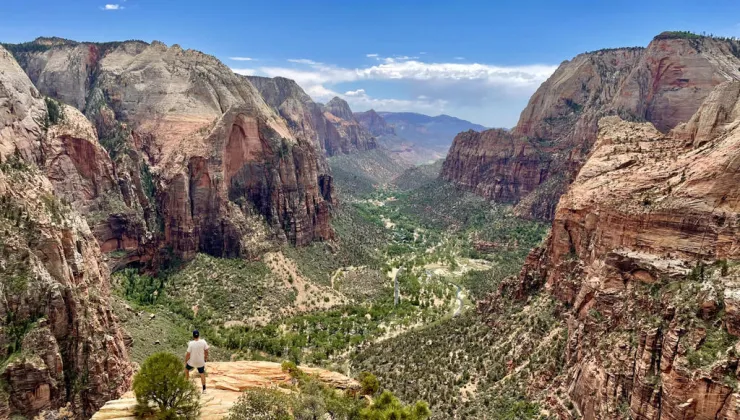
Follow the Leaders: Their Top Trip Picks for 2026
CTA Title
Read More
CTA Link
/blog/destinations/follow-leaders-their-top-trip-picks-2026
Image

Title
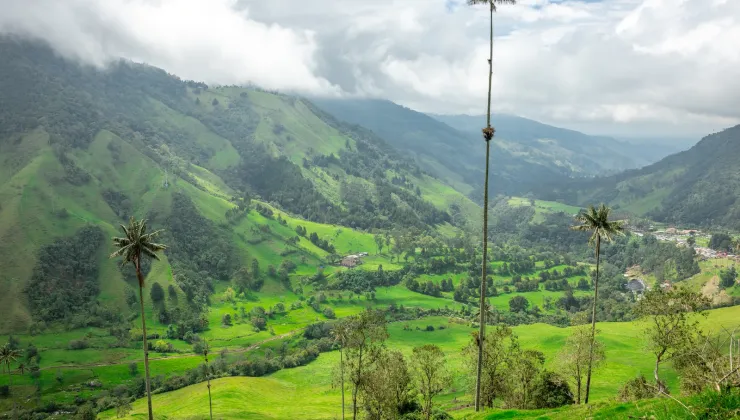
Turning Values into Action: The Give Back Field Project Program Year in Review
CTA Title
Read More
CTA Link
/blog/stories/turning-values-action-give-back-field-project-program-year-review
Formatted Text
Welcome to The BackBeat!
Welcome to The BackBeat, the Backroads blog. Looking for pro tips and a peek behind the scenes on trips around the world? We’ve got you covered. Tips and tales from the road and trail? Find it right here. Inspiration for your next epic adventure? Welcome to The BackBeat.